Charles Rollet – San Bernardino, CA
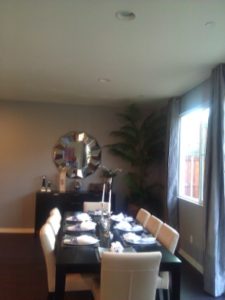
September 2013 Project of the Month Winner Before Picture
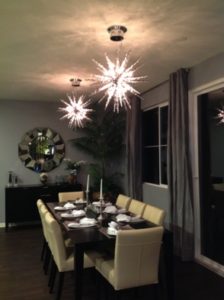
September 2013 Project of the Month Winner After Picture
“After buying these lights from a lamps store we were going to have to hire an electrician to install them since the original can was a screw in bulb and these are hard wired. And the base of the new fixture was 4 3/4″ and the whole with out the ring was 5 3/8″ so we also had a void to fill. I started poking around the internet and just typed convert can light and you popped up. I am not a electrician but do own a ipad and just put your tutorial on and paused it at each step. It was very easy.”